API
All data transference is handled by the Express RESTful API server. This server supports GET, POST, PUT, and DELETE HTTP request methods for both web and mobile applications.
Base URL of the Application
BASE URL -> http://<localhost>:<port>/api/
SAMPLE BASE URL -> http://localhost:3010/api/

HTTP/1.1
X-Powered-By: Express
Accept: /
Connection: keep-alive
Content-type: application/json; charset=utf-8
Routes
Our routes are divided into two main groups of endpoints:
Group
Route
Blockchain
/api/blockchain/
Committee
/api/committee/
Some endpoints require passing through middleware for authorization. There are two main types of middleware:
Credentials Access-Control-Allow-Credentials: Restricts requests to a limited number of client URLs.
JWT: For authorization and authentication. Some endpoints are accessible only with a valid token, otherwise, a “Not Authorized” response is returned.
Endpoints
Here are some of the most important endpoints provided by our REST API. For additional endpoints, refer to the source code or appendix in the full documentation.
Blockchain Routes
Directory: `src/api/routes/blockchain.routes.ts`
BASE URL: http://<localhost>:<port>/api/blockchain/
HTTP Request |
Body |
Description |
|---|---|---|
GET / |
Empty |
Returns the complete blockchain state on the server. |
GET /pending-transaction |
Empty |
Adds a transaction to the pending transaction pool. |
GET /transactions |
Empty |
Returns all transactions in the blockchain. |
GET /blocks |
Empty |
Returns all blocks in the blockchain. |
GET /blocks-detail/:id |
Empty |
Returns details of a specific block in the blockchain. |
POST /transaction |
identifier, choiceCode |
Adds a new transaction to the pending pool and registers it to the blockchain after approval. |
Committee Routes
Directory: src/api/routes/committee.routes.ts
BASE URL: http://<localhost>:<port>/api/committee/
Additional endpoints are accessible in the full documentation or back-end source code.
HTTP Request |
Body |
Description |
|---|---|---|
GET / |
Empty |
Returns empty object. Used only for testing purposes. |
GET /registers |
Empty |
Returns the registered citizens. It is the population data. |
Empty |
Generates and returns a list of unique identifiers for each citizen. |
|
POST /add-candidate |
name, code, party, acronym, photo, status |
Registers a candidate and returns the updated list. |
POST /add-user |
name, username, password, role |
Registers a user and returns a list of candidates. |
GET /candidates |
Empty |
Returns a list of candidates. |
GET /clear-candidates |
Empty |
Clears the registered candidates. |
GET /announcement |
Empty |
Returns the election announcement object. |
Empty |
Stores the announcement settings in the smart contract. |
Error Cases
When we perform HTTP requests to the endpoints of our blockchain, as described in section [blockchain-routes](#sec-blockchain-routes), different error codes are returned.
Response code |
Description |
|---|---|
200 OK |
Request accepted and authorized. |
201 Created |
Request succeeded and a new entity was created. |
409 Conflict |
The entity already exists in the system. |
Request restricted. Authorization required. |
|
400 Bad Request |
General error or invalid request. |
Installation of EAS CLI
To install a specific version of EAS CLI, use:
# Installation of eas version 8.0.0
npm install -g eas-cli@8.0.0

# Installation of the latest eas version
npm install -g eas-cli@latest
To check the version:
eas --version
# Sample output
eas-cli/8.0.0 darwin-arm64 node-v22.1.0
Log in to your Expo account
To log in:
eas login
To check whether the login was successful:
eas whoami
# Sample output
alfredomartins
Configure the project
To configure an Android or iOS project for EAS Build:
eas build:configure
When the command is executed, it will ask for the platform(s) in which you need to build. A file eas.json will be created and it would look like this:
{
  "build": {
    "development": {
      "developmentClient": true,
      "distribution": "internal"
    },
    "preview": {
      "distribution": "internal"
    },
    "production": {}
  }
}
It defines three build profiles named “development”, “preview”, and “production” (you can have multiple build profiles like “production”, “debug”, “testing”, etc.) for each platform. More details about this file and how to set your own configurations can be found at Expo EAS JSON Documentation.
Run a build
In our scenario, we will not use Build for app stores since it would require us to have a Google Play Store or Apple App Store membership account. This process may be done in the future, but we will not proceed in this way during this release. It would require many costs for the developer while the project is still under testing, as this is a very serious process in the country.
Build for app stores
# Build for Android
$ eas build --platform android

# Build for iOS
$ eas build --platform ios

# Build for both
$ eas build --platform all
These commands can take a while, so one can check if it is done executing the command:
$ eas build:list
Build APKs for Android Emulators and devices
Check the file configuration at this link https://docs.expo.dev/build-reference/apk/.
$ eas build -p android --profile <profile-name>

# Install on the emulator
$ eas build:run -p android

# Run the latest build
$ eas build:run -p android --latest
Build for iOS Simulators
Check the file configuration at this link https://docs.expo.dev/build-reference/simulators/.
$ eas build -p ios --profile <profile-name>

# Install on the emulator
$ eas build:run -p ios

# Run the latest build
$ eas build:run -p ios --latest
Remember that a profile can be named whatever you like. In the above example, it is called preview. However, you can call it local, simulator, or whatever makes the most sense (https://docs.expo.dev/build/eas-json/).
In this particular thesis, we worked with the build of iOS simulator to speed our process up.
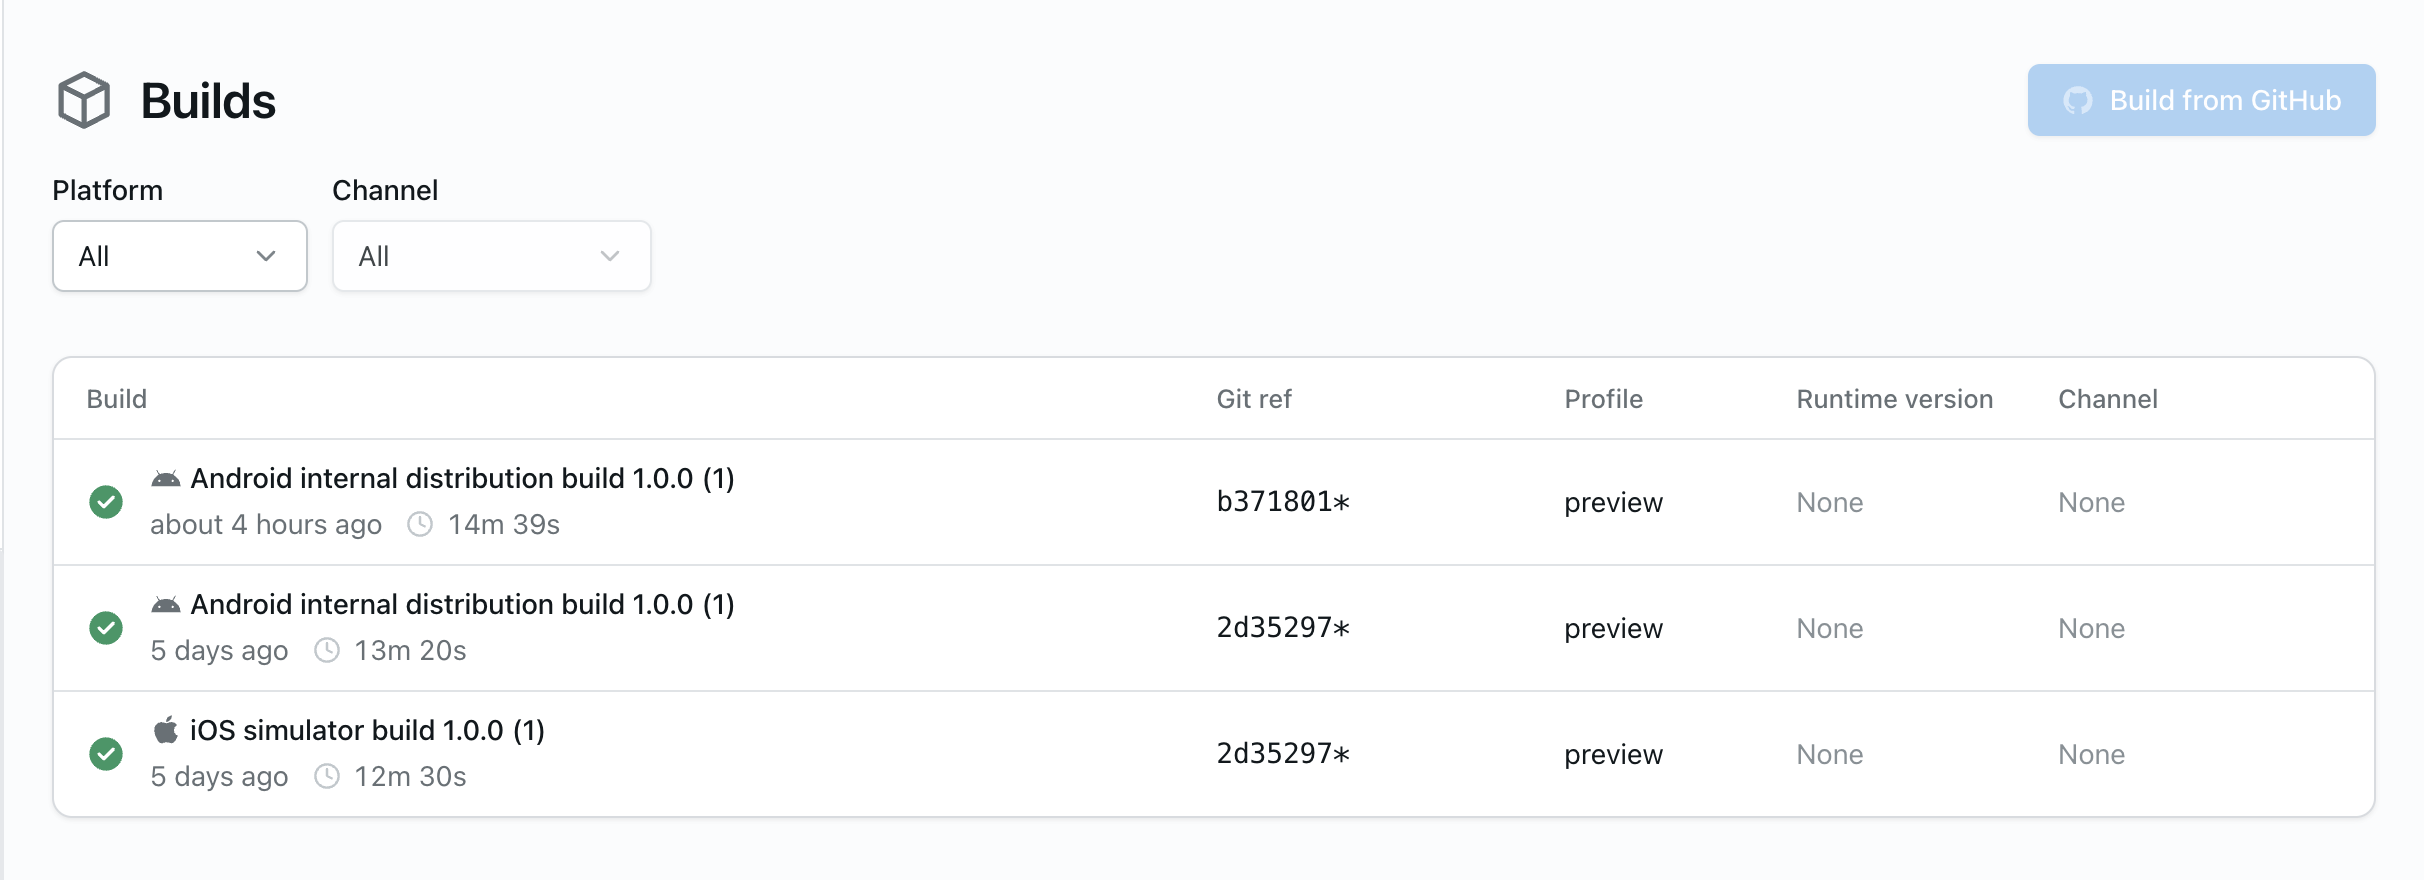
One can also check the multiple builds on the Expo project page source
Backend Build
$ npm run build
This command will optimize the project and prepare it for deployment.
Web Build
Similar to the last one.
$ vite build
Containerization
Directory
[back-end]/Dockerfile
Dockerfile Overview
The Dockerfile is a plain text file without a specific extension, consisting of a set of instructions. Docker uses this file to construct a container image. In the root directory, alongside the package.json file, generate a file called Dockerfile (https://docs.docker.com/engine/reference/builder/).
We created our container images using Docker. Please refer to the source code for more details on the commands used. The setup is illustrated below.
Note: This feature is applicable only for the Web Front-end and Back-end. The Mobile application is provided in a package (e.g., .apk for Android). Below is a brief implementation of how to create the image for the back-end.
Building the Docker Image
Assuming Docker is already running on the machine, build the image by running the following command:
# docker build -t <image_name> <directory_path>
$ docker build -t api_angola .
Sample Output
[+] Building 32.5s (14/14) FINISHED        docker:desktop-linux
 => [internal] load build definition from Dockerfile
 => =>  transferring dockerfile: 669B
 => [internal] load metadata ...
 => [auth] library/node:pull token for registry-1.docker.io
 => [internal] load .dockerignore
 ...
 => [2/8] WORKDIR /usr/app
 => [3/8] COPY package*.json ./
 => [4/8] COPY . .
 ...
 => [8/8] RUN npm run build
 => exporting to image
 => => exporting layers
 => => writing image sha256: ...
 => => naming to docker.io/library/api_angola
The -t flag allows us to specify a desired name for the image being built.
Running the Docker Container
With the image created, you can create and run a container using the following command:
# docker run -e SERVER_PORT=<port_number> --name <container_name> <image_name>
$ docker run -e SERVER_PORT=3010 --name container_1 api_angola
Sample Output
SOCKET: listening on *: 3010 | NODE ADDRESS: 3010
Press "M" or "m" to open the menu.

# Check if running
$ docker ps
A container is a standardized module of software that bundles code and its dependencies, ensuring fast and reliable execution of the application across various computing environments (https://docs.docker.com/get-started/overview/).